Transform Your Amazon Fire TV Stick Into a Retro Gaming Console with RetroArch
Overview of RetroArch
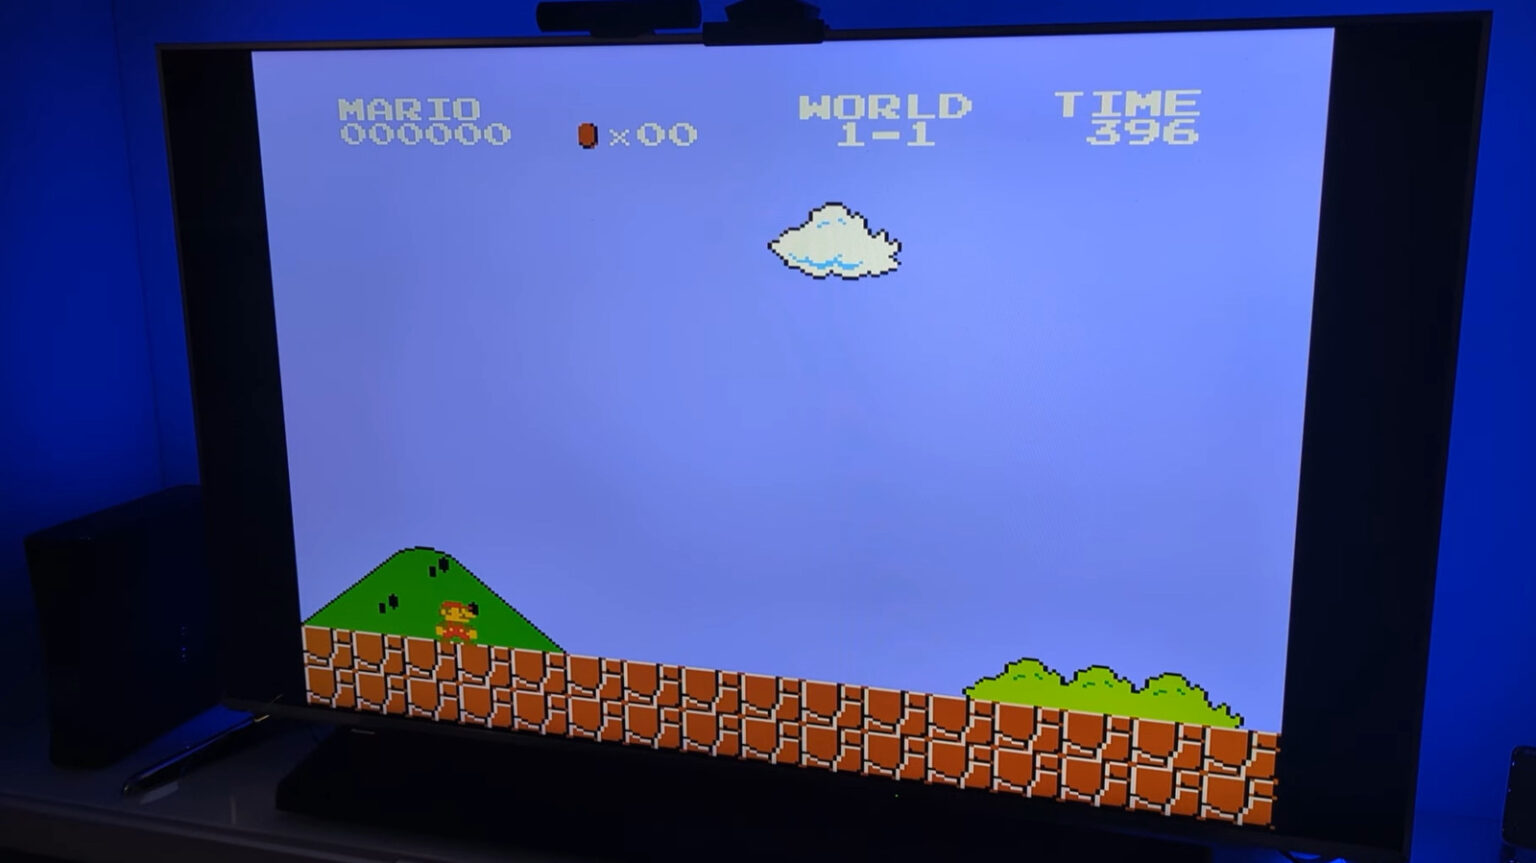
For those nostalgic about classic video games, the Amazon Fire TV Stick can be transformed into a gaming console using the open-source application RetroArch. The installation process is straightforward and typically takes no more than 30 minutes. Once set up, a library of retro games such as “Super Mario All-Stars,” “Battlezone,” and “Ms. Pac-Man” becomes readily accessible. Notably, RetroArch is free and supports emulators for numerous gaming systems, including PlayStation, Super Nintendo, and Sega.
RetroArch is compatible with various operating systems, including Windows, macOS, Android, and iOS. It provides extensive configuration options to enhance gameplay and supports various controllers. This means that besides using the Amazon Fire TV Stick remote, players can also connect a Bluetooth gaming controller for a more immersive experience. Additionally, users have the option to host gaming sessions, watch gameplay, or livestream on platforms like Twitch or YouTube.
Step-by-Step Installation Guide for RetroArch
Before starting the installation of RetroArch on an Amazon Fire TV Stick, several accessories are required: a Micro USB OTG adapter, a 32GB flash drive, and a Bluetooth gaming controller. It is advisable to use a USB 2.0 flash drive instead of USB 3.0 due to the latter’s higher power consumption. The steps for installation include:
First, format the flash drive to FAT32, which is the supported file system for the Amazon Fire TV Stick. Then, create a new directory labeled “Games” on the flash drive and create separate folders for each gaming system, transferring ROM files to their appropriate folders. It is recommended that users obtain these files from physical copies they own to circumvent potential legal issues.
Next, connect the Bluetooth gaming controller to the Amazon Fire TV Stick. Using the Micro USB OTG adapter, attach the flash drive and power cord to the device. If prompted to format the drive, choose “No.” Following this, access the Amazon App Store, search for RetroArch, and install it. If the app is not readily available, the user may need to sideload it onto the Fire TV Stick.
Upon opening RetroArch, it will request permission to access external storage. Once permissions are granted, press the Up button on the controller to activate it instead of the remote. Navigate to the Main Menu, go to Online Updater, and select the Update option for each file. Afterward, visit Core Downloader to install the necessary cores based on the gaming systems you wish to emulate.
To finalize the basic setup, navigate to Import Content, select Scan Directory, then choose Storage. From there, select the flash drive and the ROM library folder to scan the directory. This will display the games on the left pane of RetroArch’s home screen.
Optimizing Gameplay in RetroArch
After loading the games, users still need to select the appropriate emulator for optimal gameplay. To do this, go to Settings, then Playlists, and Manage Playlists to choose the newly loaded playlist. Under Default Core, select an installed core that corresponds to that playlist, such as the MAME 2003-Plus core for MAME games. Repeat this process for additional gaming systems for a customized experience.
While the basic RetroArch setup is complete, players may want to enhance their experience further. To display game thumbnails, select a game from the playlist, scroll down, and choose Download Thumbnails. For automatic thumbnail downloads, enable the On-Demand Thumbnail Downloads feature in the playlist settings, keeping in mind that it may impact performance.
Moreover, users can manually set core associations to ensure specific retro games run on chosen cores. Adjustments can also be made to display settings for a more authentic visual experience. Overall, even with basic configurations, RetroArch allows for an enjoyable gaming experience using an Amazon Fire TV Stick, enabling the repurposing of older television sets for retro gaming.